For some people, winter means spending more time indoors than you’d like. A four-season
sunroom is a great way to bring the outside in and enjoy the sunlight no matter what the weather is like outside!
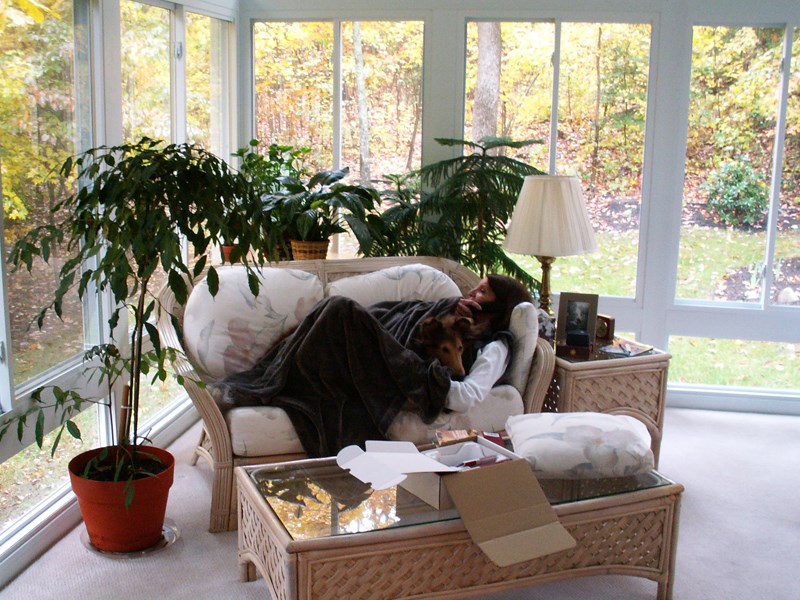
Make the Most of a Sunroom in Your Richmond Home
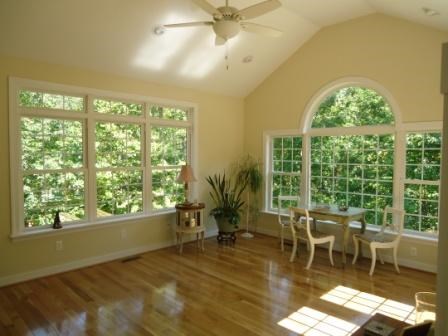
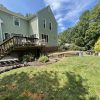
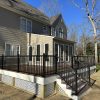
Imagine sitting in a room surrounded by windows as you listen to the rainfall or watch the snow blanket your yard. A Richmond sunroom can add usable square footage, and it can also add beauty and charm to your home.
Four-season Room Options for Style and Function
If you’ve been thinking about adding a sunroom or other four-season room, then there are some things to keep in mind as you plan this exciting home addition.
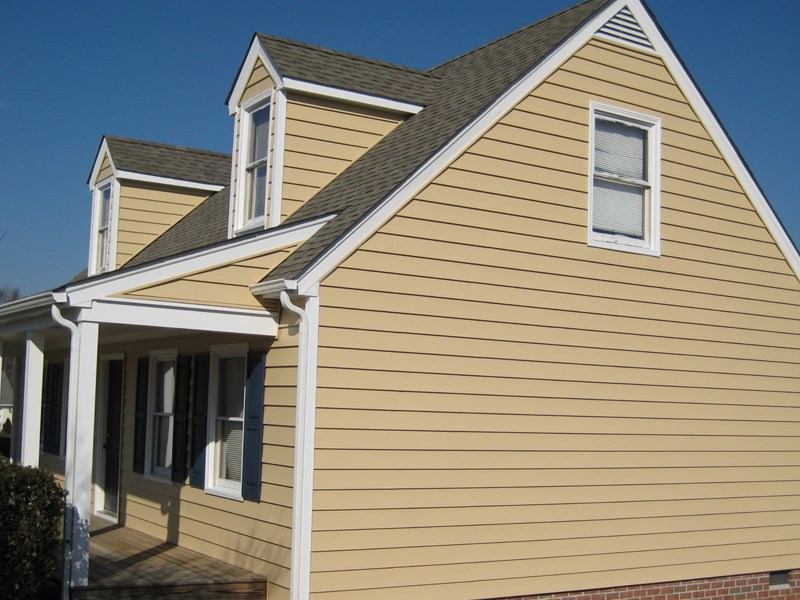
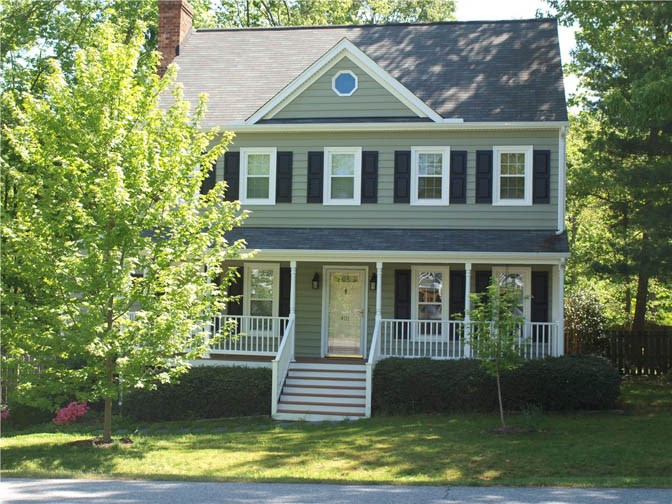
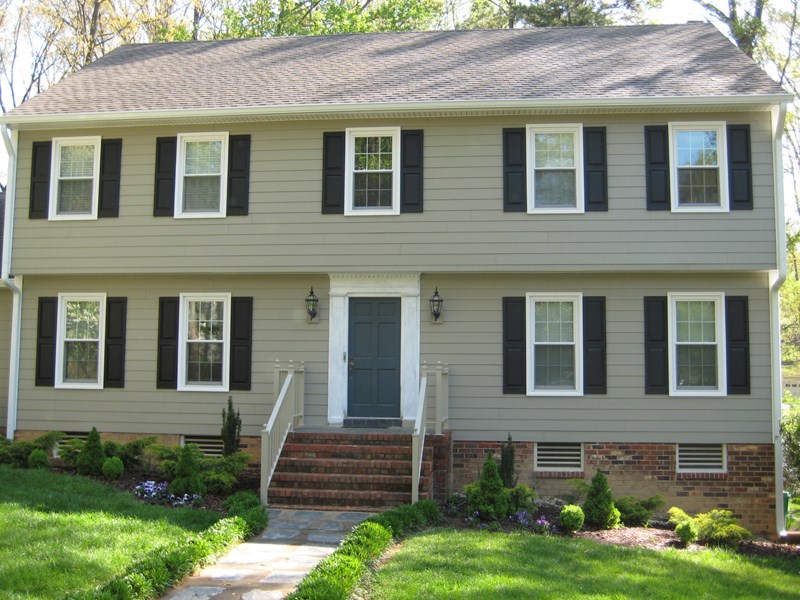
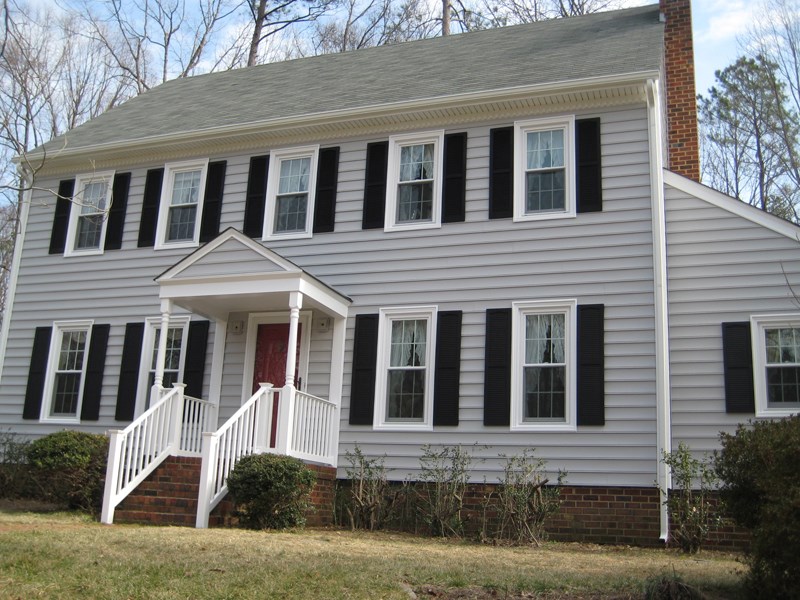
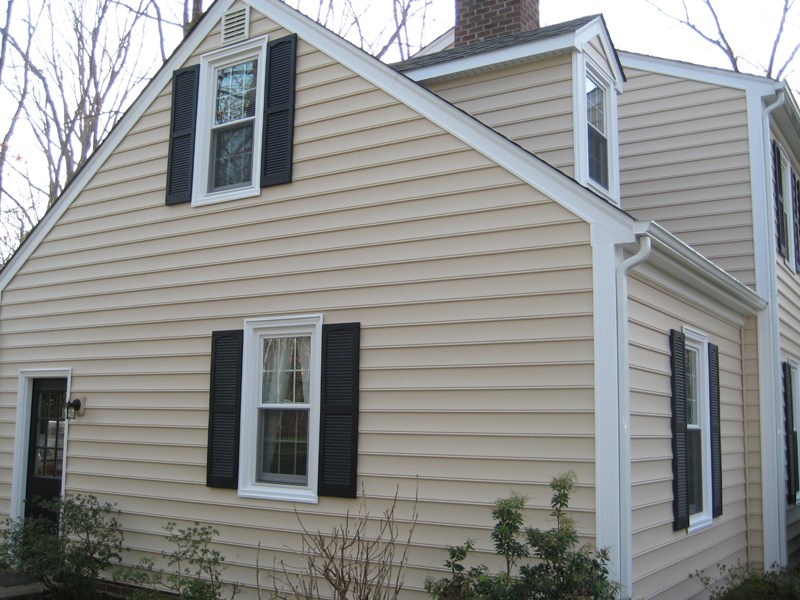
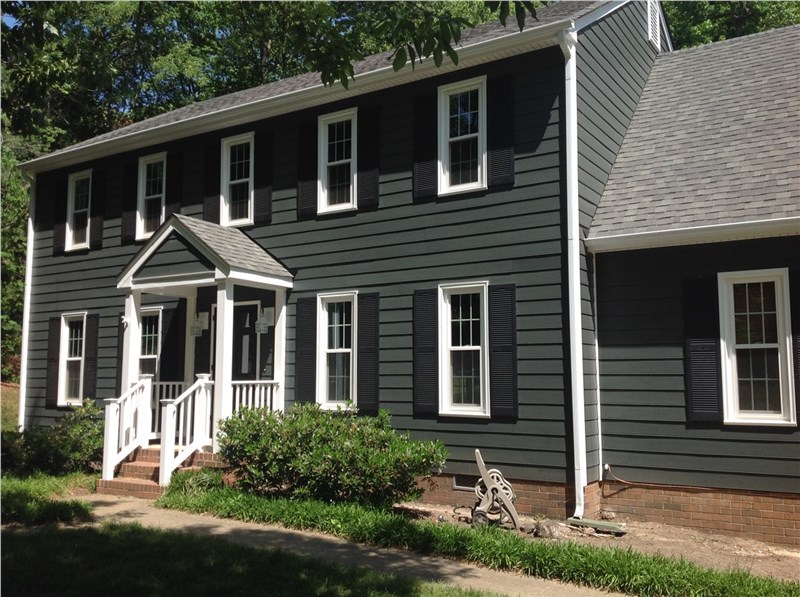
Sunroom Styles to Complement Your Home: You may be worried that a sunroom won’t blend well with the current look of your exterior, but we have solutions to complement any
home. Four-season rooms are available in so many different styles that there really is something to suit every home. We can even build your Richmond sunroom with the same roofing and siding as your home, so it will blend in seamlessly.
Sunroom Addition Financing Options: We’re happy to discuss all of our financing options with you. You might be surprised how affordable it can be to add a beautiful, functional
sunroom to your home.
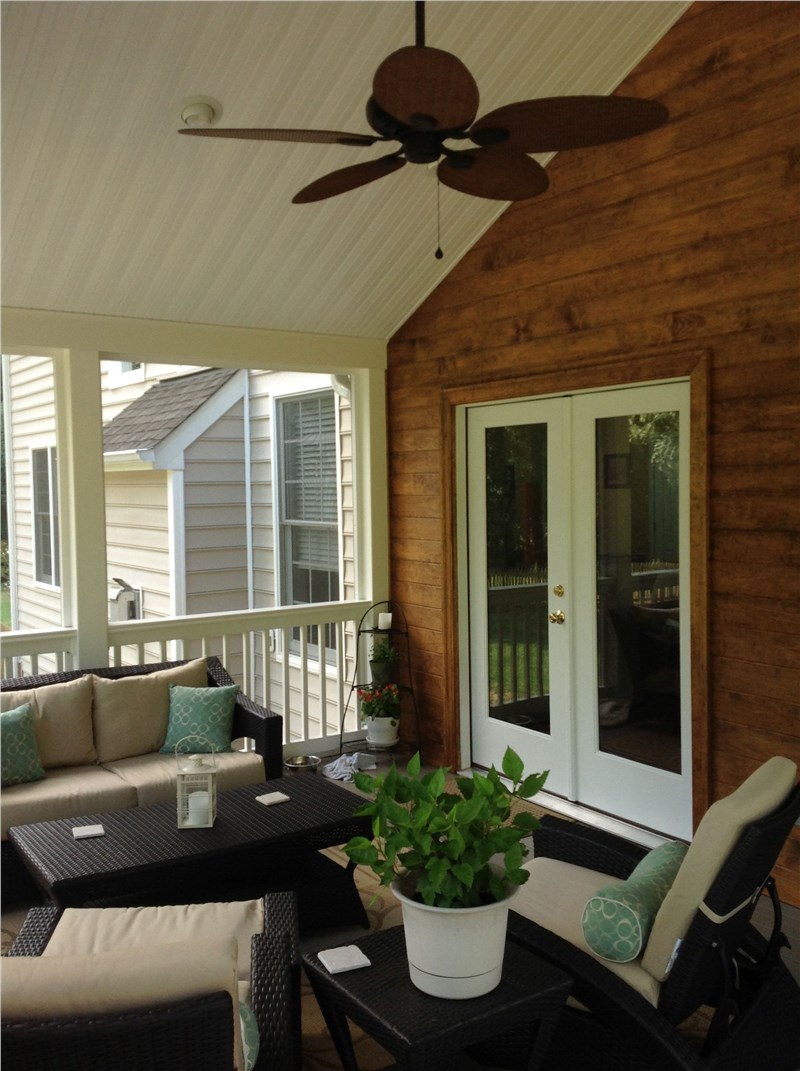
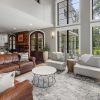
Consider an All-glass Conservatory: To maximize the natural light and the view, a conservatory is a perfect choice. Conservatories, which come in several styles, feature a glass roof along with glass walls. A conservatory is the best way to enjoy outdoor view and natural light throughout the year!
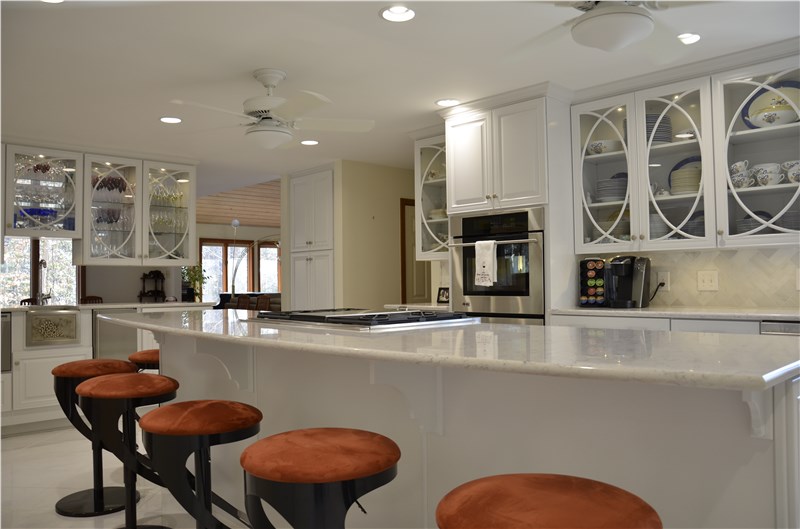
Additional Sunroom and Conservatory Options: When you build your sunroom, consider adding some of the available options to make the space even more functional for your
family. Some of the options we offer are ceiling fans, doggy doors, electrical outlets, HVAC, lighting accents, and more. Ask about all of our options when you get your free, in-home estimate!
Enhance Your Home with an All-season Sunroom
Some homeowners think you need a lot of space in the yard to add a sunroom, but this isn’t necessarily the case. We can add sunrooms in just about any size, so whether you want a small room where you can read or drink your morning coffee, or you want an impressive space where you can entertain, we can build it!
Classic Construction is the premier builder of Richmond sunrooms. Our years of experience, professional contractors, and partnerships with the very best major brands mean that we can make your dream for your sunroom addition a reality.
Plan your sunroom addition now, and enjoy your new space as the spring flower bloom! Contact us today and be begin designing your new sunroom in no time!